- Mar 18, 2024
Kumiko Bench Hook Pt.2
- Norman Pirollo
Over the past weeks I had the opportunity of presenting a series of Kumiko workshops through Lee Valley Tools. As part of this livestream series, I had certain criteria to work with. Namely a low cost, less complex and simpler way to create Kumiko components. This post is a follow on to Kumiko Bench Hook Pt. 1. This part introduces a set of mini guide blocks that are simple in complexity compared to the larger, more common Kumiko guide blocks used virtually everywhere. The mini guide blocks work on the premise of friction. Adhesive-backed sandpaper keeps the guide blocks from slipping when placed along a fence. As well, the same 30u sandpaper is used on the sliding stop to both advance ad retract the Kumiko board in very small increments. A criteria was to eliminate mechanical fasteners in the operation of the mini guide blocks

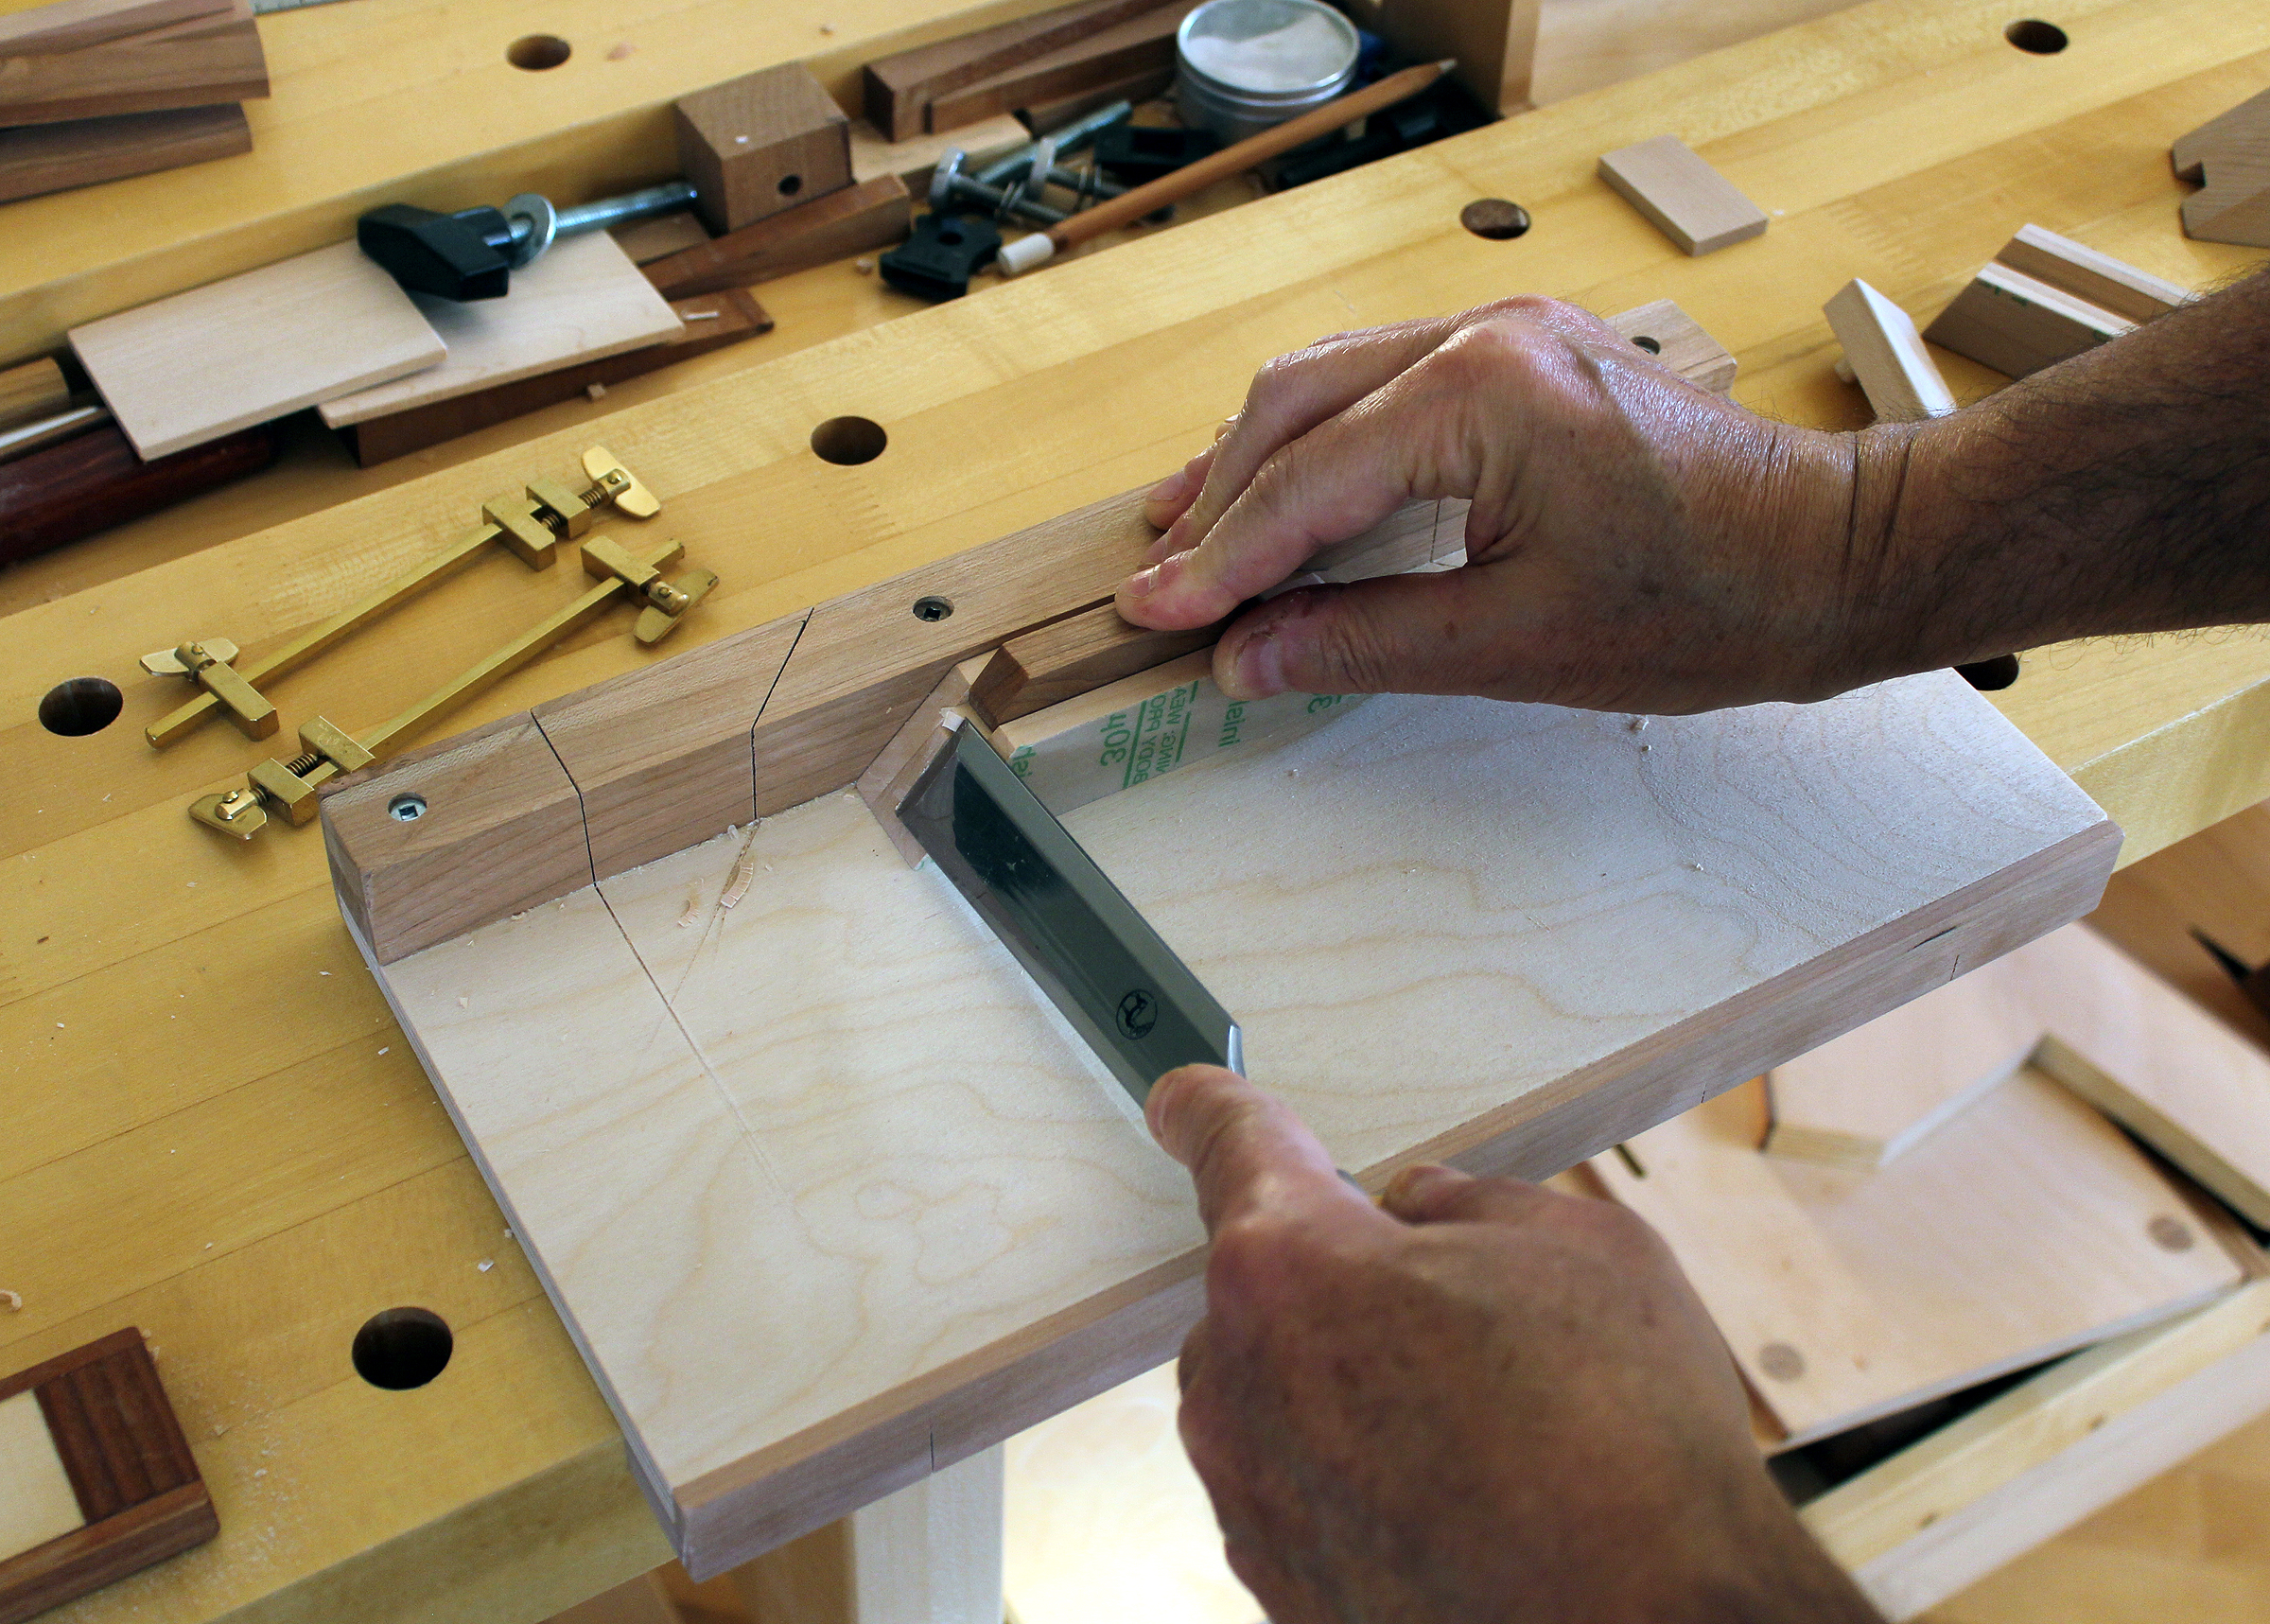
After having created the grid using the process described in Pt. 1, the plug-in stop of the bench hook is removed and the hook is flipped over to present a taller fence. The taller fence is higher than the mini guide blocks. Using this tall fence and the guide blocks, bevels at different angles are created using simply a 1 inch wide chisel. the process is similar where the wide chisel rests on the guide block bearing surface. The beveled components then form the Kumiko pattern or motif. In this case the guide block (2) angles are set to form the asa-no-ha pattern. The angles are 67.5d, 22.5d, and 45d.
Using this system, all Kumiko components including the grid are created using only hand tools. I am enjoying this pleasant dust-free and noise-free process of creating Kumiko.
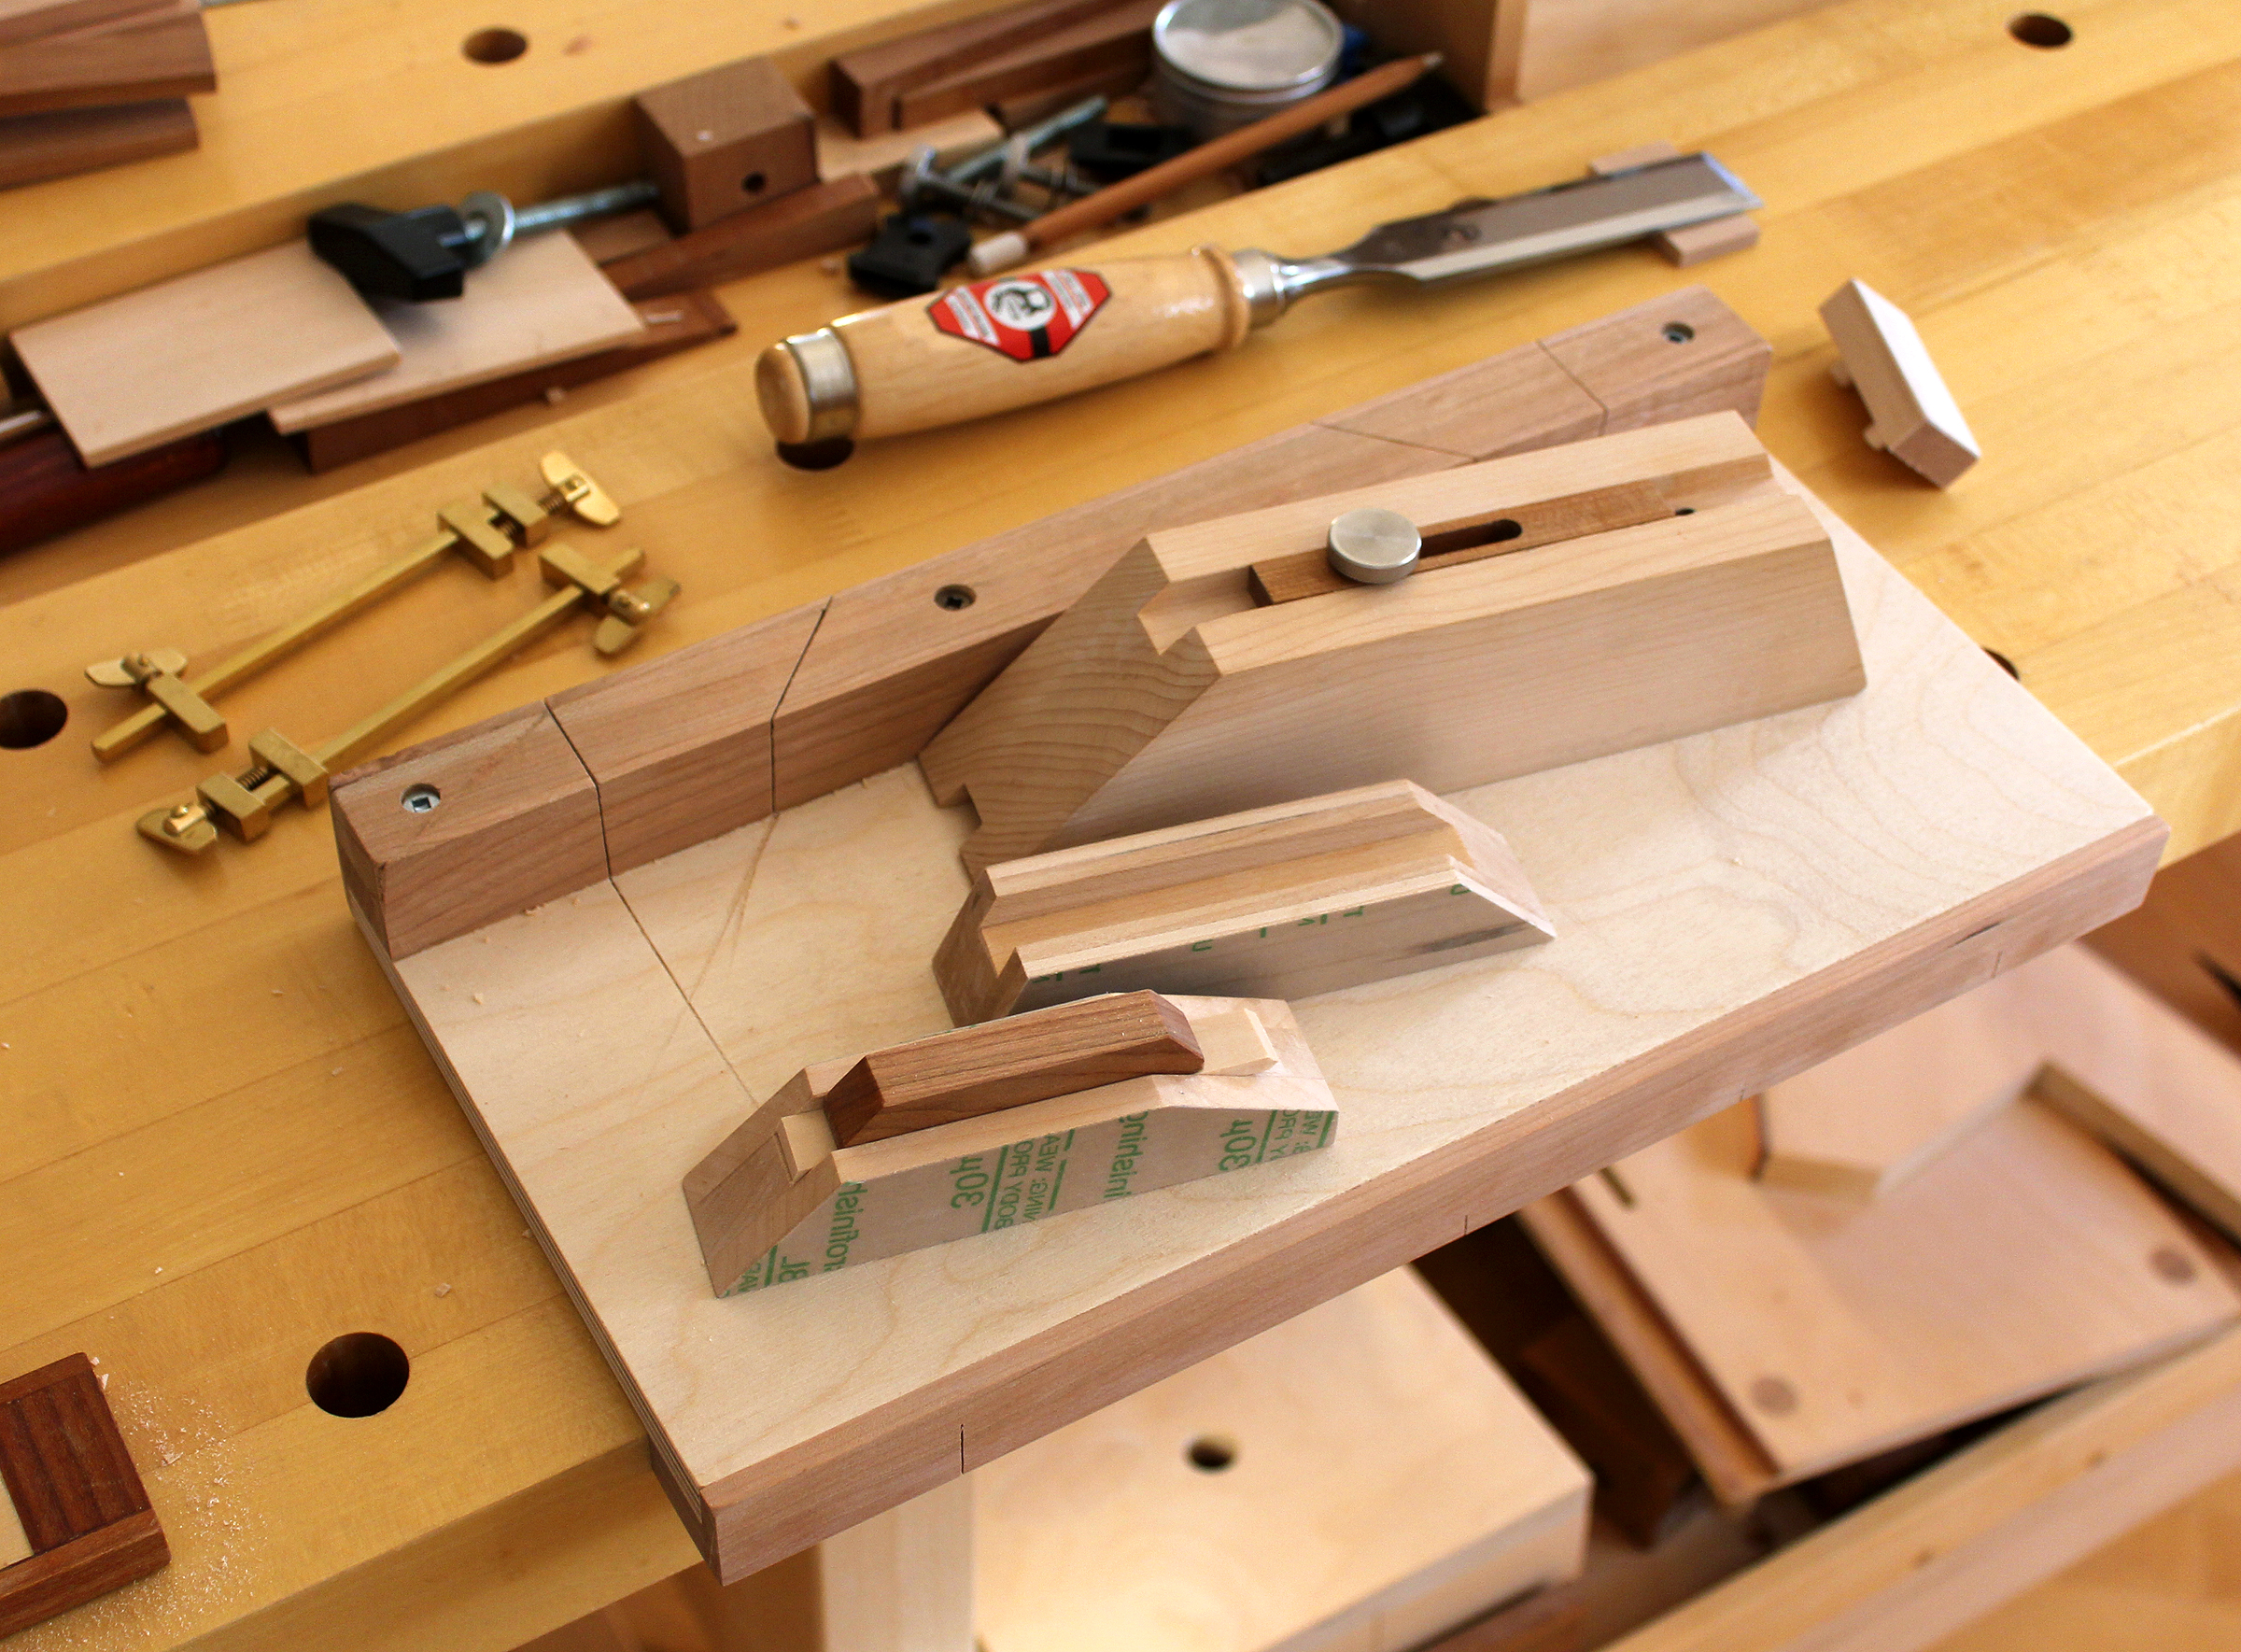
Comparison of conventional guide blocks with the new mini guide blocks, they are much smaller size and simpler in construction. I have been using this new system for a few weeks now and it has essentially replaced the previous system of a large guide block clamped in a vise. There is no vise necessary with this system as the guide blocks are pressed against a fence and do not shift. The small sliding stop also moves using friction of an adhesive-backed sandpaper. I find the new system simpler and quick to set up and use.

Some recent Kumiko panels created using the new system of Kumiko bench hook and mini guide blocks. I will have more information about this new system in my online Kumiko Course. If you purchase the course, you will be automatically be provided with the updated new module. By the time you read this, the new module should be included in the Kumiko Course.
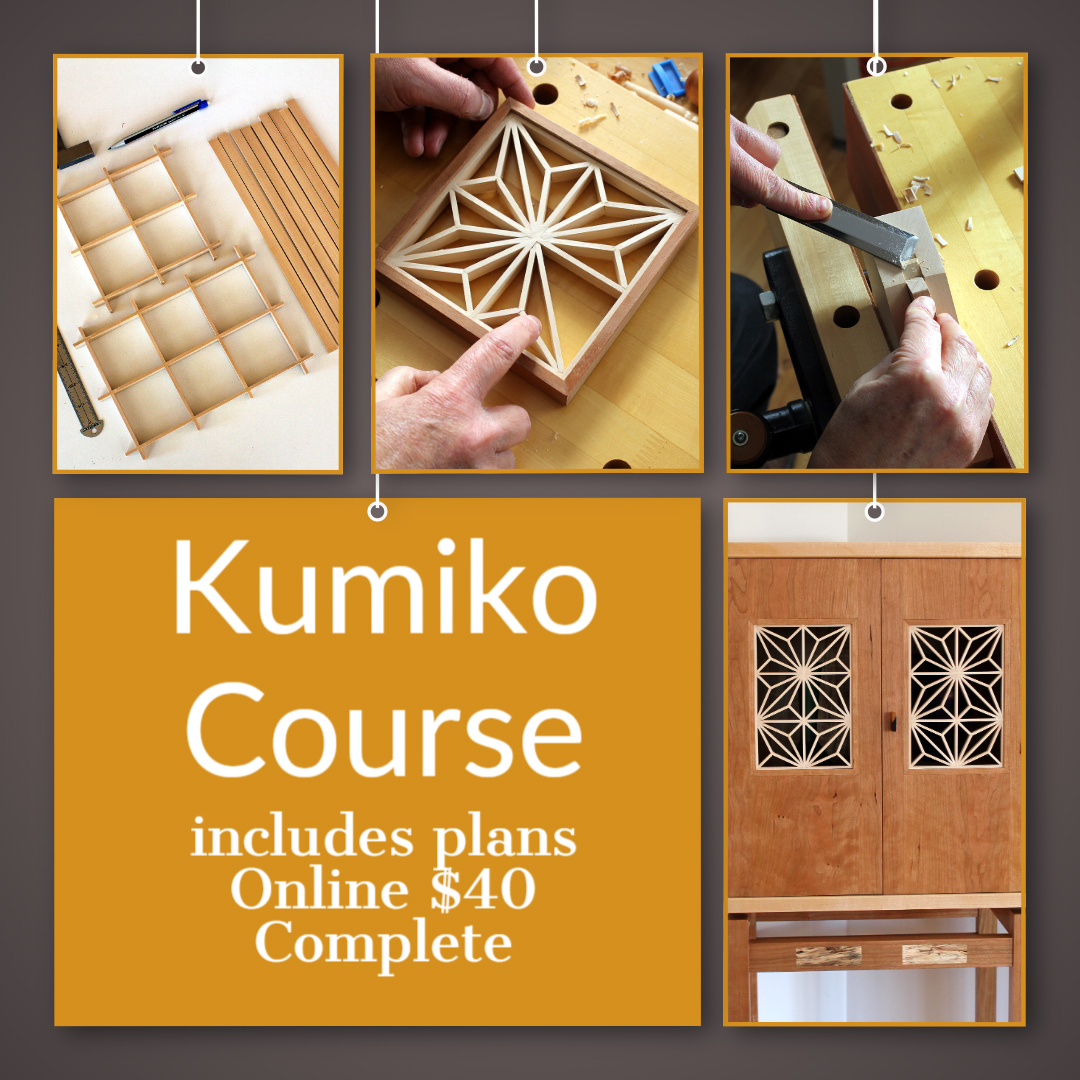
I have packaged together several instructional videos on how to make Kumiko. The videos show the detail involved and how to create the grids from rough blanks. Other videos focus on creating the small parts within the grid forming the intricate patterns. I also realized that creating the guide blocks is a prerequisite to Kumiko and this step kept many people from experimenting with Kumiko. So other videos describe how to create guide blocks in detail (from rough blanks). Guide Block plans are also included in the Kumiko Course available here at WoodSkills.
WoodSkills Courses + Plans
- $40
Hand Tool Case
- Course
- 16 Lessons
- Includes 1 additional product
- $50
Tea Cabinet Course
- Course
- 56 Lessons
- Includes 1 additional product
- $40
Woodworking Course
- Course
- 55 Lessons
- Includes 1 additional product
- $40
Furniture Design Course
- Course
- 26 Lessons
- Includes 1 additional product
- $40
Kumiko: Learn Japanese Woodworking
- Course
- 23 Lessons
- Includes 1 additional product
- $40
Hand Tool Class
- Course
- 48 Lessons
- Includes 2 additional products